How to add new sites
- From the main menu, select and click on the Sites menu option
- Sites screen will be displayed and display a list of all defined sites
- You can either click on New Site button on the right side of the screen or right mouse click and select +Add menu option
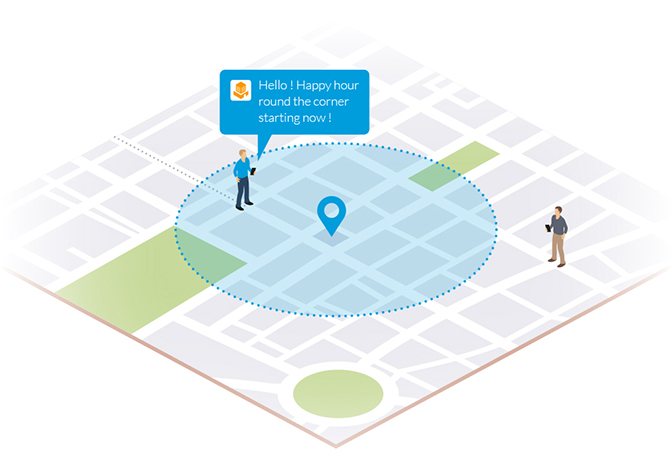
A Geo-fence is virtual geographic boundary. The
easiest way to think of Geo-fence in is to imagine a circle drawn
around your job sites on a map. As a matter of fact, putting a circle on a map
is exactly how you add a Geo-fence in our solution.
By setting a Geo-fence around all your job sites,
ClickTime alerts employees or contractors when they arrive, continuously
monitors them during the shift and notifies managers if they leave the
site while clocked in.
For Geo-fence time tracking, enter a street address
for each site you define and a Geo-fence area is
automatically created. If desired, you can customize the Geo-fence area by
moving the center point and changing the radius. When location is
captured for the employee action (Clock in, Clock out), ClickTime Mobile will
compare the location of the clocking with Geo-fence area for the job
site. An email alert will be sent to manager notifying them of the geofence
violation
- Fill-in the site data including the address of the site.
- The system will try to find the typed address and the coordinates automatically.
- Click on the view map button ensure and to view the entered address on google map.
- You have the option to change and customize the Geo-fence area by moving the center point and changing the radius by dragging the radius right and left.
- Once done, click on the keep changes button to keep any changes you made to the Geofencing details
- On the Sites screen, Click on the save button to save the site data.
- Click on the Get Map Address button. This will allow the system to get the new changed address GPS coordinates
- Click on the View Map button to view the new address on map and do necessary changes to the GeoFencing if required.
- Save the record.